How to Beat Saya and Selyne, Palworld's Toughest Hard Mode Tower Boss
Saya and Selyne guard the Moonflower Tower's Hard Mode rematch at level 80. Here's how to unlock the fight, build a team that beats her Dark-leaning kit, and survive the five-minute clock.

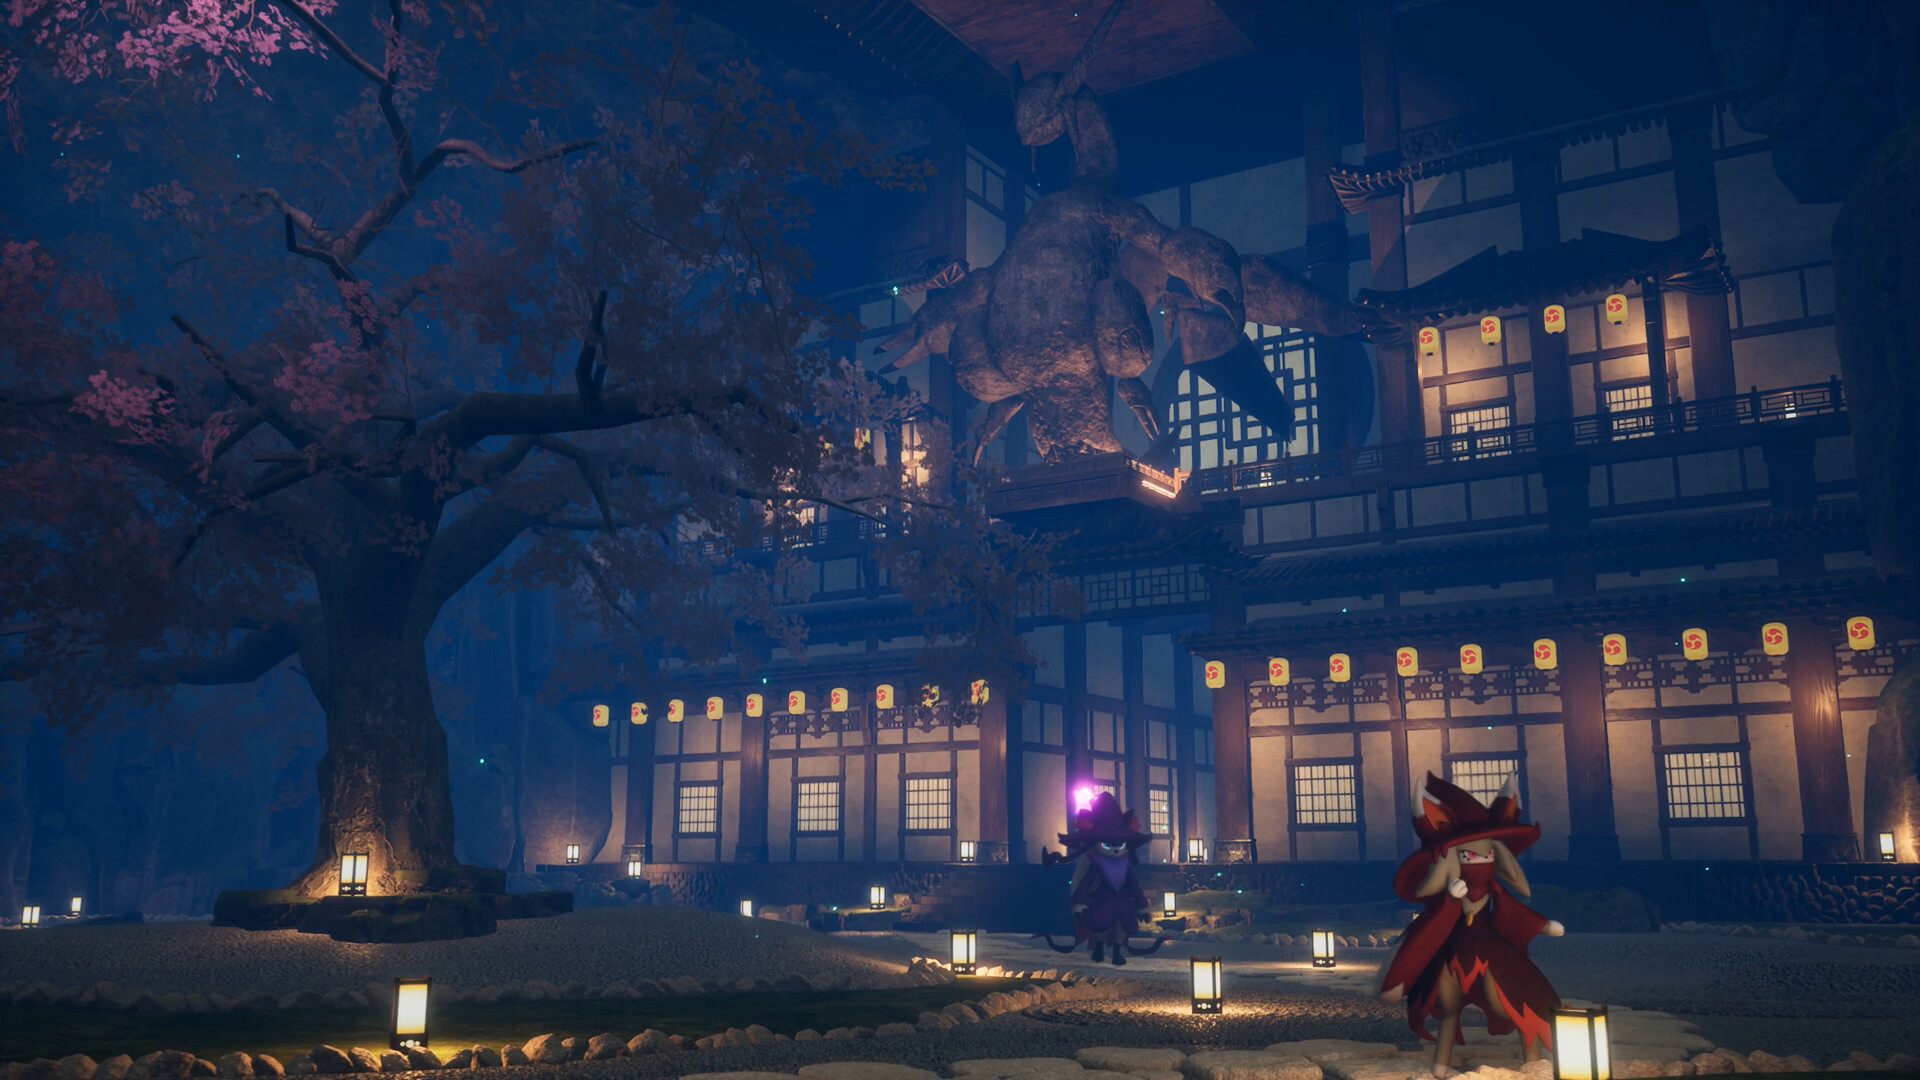
The Moonflower Tower's shrine grounds on Sakurajima, home to the Hard Mode rematch against Saya and Selyne. Image: Pocketpair.
Saya and Selyne sit at the top of the Moonflower Tower on Sakurajima, and since Palworld's 1.0 update their Hard Mode rematch is one of the hardest fights in the game outside the final World Tree bosses. The base encounter is a tidy Level 55 story fight. The Hard version jumps to Level 80, drops you into the same five-minute arena clock as every other tower rematch, and punishes a team that walks in without an elemental plan. Here's how to unlock it, what to bring, and how to survive the clock as of October 2026.
Unlocking the Moonflower Tower's Hard Mode rematch
Hard Mode towers used to open once you'd beaten six faction leaders. That changed with 1.0: the unlock now triggers specifically off the Azure Covenant Tower, the last story boss in the questline. Beat Auri and Shaolong there on normal difficulty and every tower you've already cleared, Moonflower included, gets its Hard rematch unlocked at the Pal Expedition Station board. You don't need to re-clear towers in order, so if Saya and Selyne is the only one standing between you and a specific schematic, you can head straight back to Sakurajima once Azure Covenant is down.
Walk up to the Moonflower Tower's altar and you'll see the Hard option alongside the original fight. Bring a full team of six, because the five-minute timer does not pause for deaths, swaps, or a bad respawn run back from base.
What Selyne's kit throws at you
Selyne leans on wide-area effects more than any other Moonflower Pal, and Hard Mode scales that up. Expect stacked ground effects that punish standing still, a telegraphed wide beam that can catch your Pals even when they can't dodge it in time, and a second-phase push where Saya's own attacks start overlapping with Selyne's. None of it is instant; every big hit gives a visible wind-up, so the fight rewards watching the boss rather than mashing your own rotation.
Where guides disagree is on her exact typing split, some call her a Dark and Normal hybrid, others Dark and Dragon, but every writeup that's run the fight agrees on the practical takeaway: Dragon-type attackers are your most reliable damage, with Dark-type moves as a strong second option. Bring neither and the fight drags well past the clock.
Build a team around Dragon and Dark damage
- Two Knocklem, rotated so one always has its damage-boosting special effect ready, is the comp most guides converge on for this fight.
- Bellanoir Libero pairs well for Nightmare Bloom-style Dragon and Dark pressure, and two of them can carry a huge share of the fight's damage on their own.
- Eidrolon and Wixen Noct are the next-best Dragon and Dark attackers if you haven't bred up a Bellanoir Libero yet.
- Orserk with Ancient Armor equipped and a Drone Launcher in hand covers the gaps between your Pals' cooldowns and keeps pressure on during Selyne's defensive windows.
Fight it step by step
- Enter with a full team and immediately spread your Pals rather than clustering them near the altar, since Selyne's opening area effect favors tight groups.
- Lead with your Dragon attackers and save Dark-type specials for when Selyne drops her damage-resist window, which most runs see roughly a third of the way into the fight.
- Watch for the wide beam telegraph and recall any Pal that can't clear it in time; eat the hit on cooldown rather than on a Pal mid-attack.
- Keep healing items on your hotbar for yourself specifically. Selyne's area effects are wide enough to tag the player character, not just your Pals.
- Once Saya's own attacks start layering into the fight in the back half, prioritize whichever of the two is lower on health rather than splitting damage evenly.

What you get for clearing it
Every Hard tower boss guarantees the same three drops: that faction's hat (the Moonflower Hat here), a Training Crystal that bumps one Pal a level, and a second copy of the Key Sphere you already hold. Saya and Selyne also roll a chance at one of five region Lotuses and a roughly ten percent shot at the Plasma Rifle schematic, so expect to run it more than once if a specific drop is the goal.
Clearing Hard Mode here permanently unlocks a Moonflower expedition at the Pal Expedition Station: a two-hour, Highest-danger run that recommends around 1,600,000 firepower and twenty Pals of one element, paying out in Kinship Peaches and the Slab Fragments used at the Summoning Altar to call raid bosses to your base. With Saya and Selyne down, Bjorn and Bastigor at Feybreak and Auri and Shaolong at Azure Covenant are the only Hard rematches left before the Blightstar Calamity, the Level 100 fight that opens the World Tree's Forbidden Area.
For patch specifics and the full 1.0 changelog, Pocketpair's own Steam news hub is the most current source, and the Palworld Steam page has the current build and system requirements. Background on the game's development sits on Wikipedia, the official Pocketpair site covers the wider Palworld franchise, and the game carries a Teen rating per the ESRB.